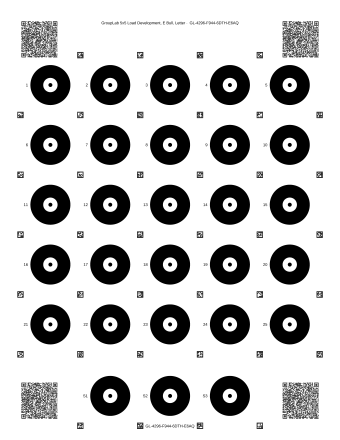
The E bull, 5x5#
The everyday sheet for load development through a scope: a black disc with a white center and a small dot, 25 bulls and three sighters.
Shoot a target
It needs real targets, shot by real people with real rifles. Five steps, about ten minutes of your time on top of the shooting. Any distance, any rifle: nine shots is useful, twenty-five is better.
Most useful right now: The C3 zeroing grids, which GroupLab has no real photographs of yet, and the E and C bulls, which it has seen from one range day only.
Made for your optic draws a sheet for your own scope and distance: it is on GroupLab's Targets screen, on the desktop and the phone.
The everyday sheet for load development through a scope: a black disc with a white center and a small dot, 25 bulls and three sighters.
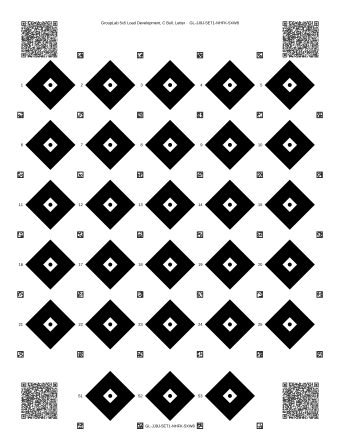
The same sheet with a diamond standing on its point, whose points sit on a crosshair's lines.
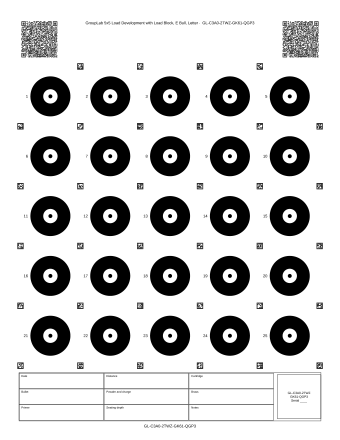
The E bull sheet with a block to write the load in, for a range day with several loads.
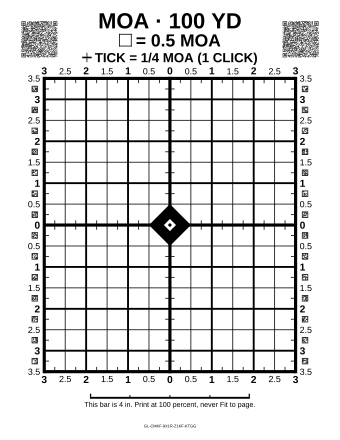
Zeroing a scope with quarter-MOA clicks at 100 yards: shoot a group at the diamond and read the correction off the grid.
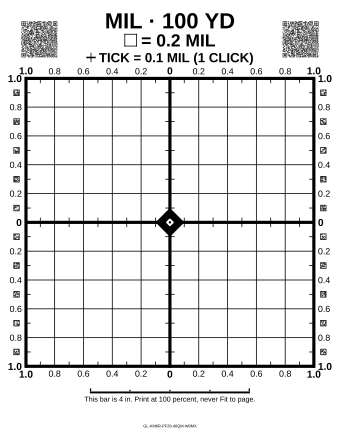
The same for a scope with 0.1 mil clicks.
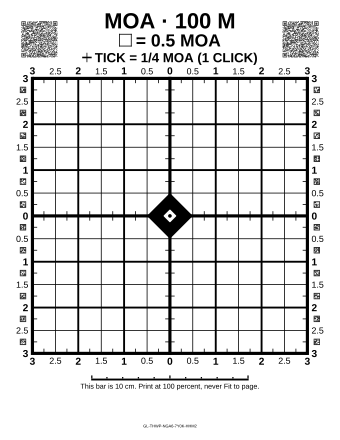
Zeroing with quarter-MOA clicks at 100 meters.
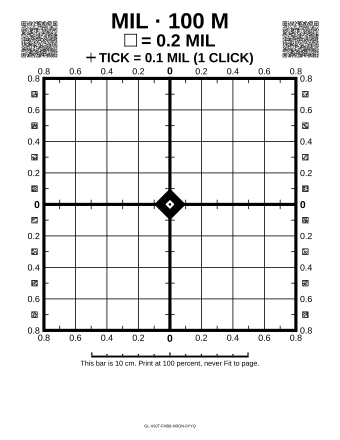
Zeroing with 0.1 mil clicks at 100 meters.
Letter or A4 paper, Actual size or 100 percent. Never Fit to page. Then check the size: between the centers of bull 1 and bull 5 on a 5x5 sheet, or the bar under a zeroing grid.
The page of instructions with each sheet gives its own number
On a sheet with a load block, the date, the distance and the cartridge, inside the block only. On any other sheet write nothing, and name the load when you send it: pen marks can be mistaken for bullet holes.
Tape it onto cardboard at the four corners; flat is best, and GroupLab follows a gentle curl. On a 5x5 sheet one shot per bull, in number order; on a zeroing grid one group at the diamond.
In GroupLab on your phone, Take a picture: Guided takes it when everything is right, Manual when you press, and the torch helps in dim light. It scores each picture and says what it corrected. Without GroupLab, two photographs on the main camera at 1x. A target still hanging where it was shot is the material the project most needs.
No account, no email address and no follow up. Every photo is rebuilt from its pixels on the server, so the camera facts the measurements need come across and the location and the date and time cannot.